Showing posts with label tutti designs. Show all posts

Saturday, 25 August 2018

anyone for witch leg soup?


I'm back with a Halloween treat box using this fabulous


I love this die and I know my Grandkids will get a real kick out of it!!

I started my project by sizing up the die again some little boxes I had
and it suited perfectly.


I cut the die out using some black card and then just the legs using some lime green card.
I did hold on to all the inner bits so I could paper piece it later.


I printed off some wording from my computer and matted onto black card and
wrapped it round the top of the box.


Next I added some glue to the back of the black die cut
and adhered to the front of my box.


I added glue to the places I wanted to fill with the green using the inner cuts
from the green legs.

I wanted to have some purple sparkly bubbles so cut the body again and used the pieces
to fill the cauldron.


I used all the left over bubbles to pop round the sides and back of the box.

 I then filled the box with some treats and added a spooky sentiment!


For my project I have used


I hope you enjoyed my final project for Tutti Designs.
I have had such a great time playing with these amazing dies!


Saturday, 18 August 2018

Trick or Treat!

Hi there Tutti fans!


Today I am back with some Halloween inspiration!
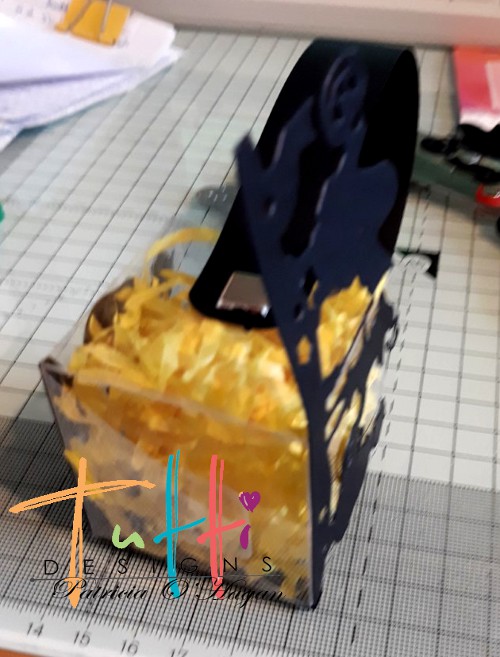
I have made a little Trick or Treat box.
You can pop in a mixture of rolled up wording and the child gets to dip in.
If they pick treat, have a treat bowl ready prepared, if they pick trick.....hahaha!

The die I have used today is called


It worked perfectly for my little acetate box.


I cut it out twice in black card. 


I also cut a long narrow piece of black card for a handle
and attached to my box using brads.


I added some liquid glue to the back of the die cut Trick or Treaters and
wrapped around the base of the acetate box.
Two wraps fitted nicely with only a small trim.


I decided to add a sentiment stamp to the lid but added some scrap black
to the back to make it easier for the child to pull up the lid.


I punched some stars in white and coloured them in a bright yellow to add
to the handle.

To bring the little Tricksters to life I added some eyes using a white gel pen.


Hope you like my box!

Today I have used


Black card, brads, star punch, white gel pen

I would like to enter this into:

Thanks for stopping by.


Saturday, 11 August 2018

Joy to the World


There is nothing like beautiful scripted words to make a Christmas card
and that's exactly what you get with this gorgeous die


I also used another MUST HAVE die

to make my card today.


I started off by cutting the Joy to the World die twice, once in deep pink card and once
in glitter card.


Having prepared my base card I adhered the pink die cut using  2 way glue.


I then applied the silver die cut, just off setting to get a shadowed effect.


I cut out loads of snow flurries using the same silver glitter card
and added to my card, finishing them off with a deep pink pearl.


I thought it would be nice to have these little mice singing below the wording,
a little mini  choir bringing Joy to the World!


I hope you enjoyed my project today.

The dies I have used are:


Papers are from DCWV
Stamp - Penny Black Holly Day Critters
Medium - promarkers

I would like to enter this into:


Thanks for stopping by


Saturday, 4 August 2018

Christmas ornament


Today, for my Tutti Designs project, I have made a sweet little ornament for Christmas using


It is the same front and back and acetate sandwiched in between so it catches the light.

I started by cutting the Nativity star out twice, once on the patterned side and once on
the back side of the card.


I added wet glue to back of Nativity star and adhered it to a piece of acetate.
I carefully cut round the outer line.


I cut a piece of linen thread and attached to back.
Using a thinner thread will reduce bulk between the two pieces.


I added glue to the back of the other Nativity star
and carefully placed on top. The glue allows for wiggle room
to make sure it covers completely.


I finished by adding a bow and a pearl to the front and back.

     
Front                                                     Back

Hope you like it!

For my project today I have used


I would like to enter this into:

Have a great weekend!


Saturday, 28 July 2018

Grumpy Frankie


For my Tutti Designs project this week
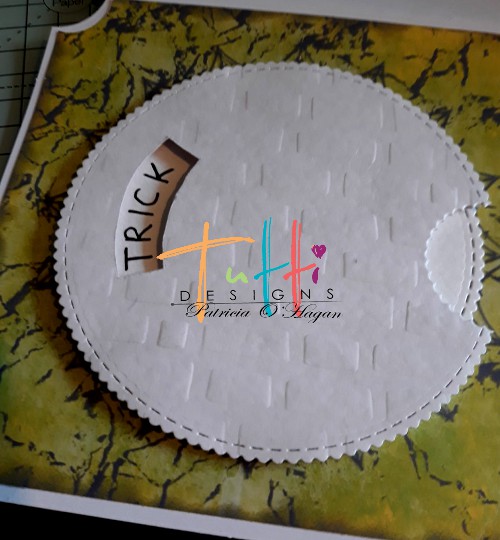
I have created a little turn the wheel Halloween card using

and

Is he not the cutest little Frankie ever!!!

So I started my card by covering the base with some Halloween backing paper.
                      I then cut Frankie out in black, lime green, purple and yellow card.

                          
 I adhered the yellow Frankie onto some black card and added glue to the pieces I wanted to piece.


When he was finished I carefully cut it out.

I cut two different size circles for the wheel.
Cutting a notch with the smallest circle in the biggest circle.


I made myself a template so I knew where to cut the slot.
Wrote in my words in black pen and  popped a brad in the centre to attach to base card.
I added some dimensional tape to the back
of the largest circle and after cutting out the gap for the word I adhered it to base card,
making sure not to attach to smaller circle underneath. 


I finished by adding Frankie and using my black pen I added arrows to show
best way to turn the wheel to read the words
TRICK OR TREAT


I finished the card off with some big black gems.

For my project I have used:

and
Digi Papers from Donna (years old)
Black gems, dimensional tape and a brad

I would like to enter this card into:


Related Posts Plugin for WordPress, Blogger...